Updatetime:2026-06-09 08:21:30 View:
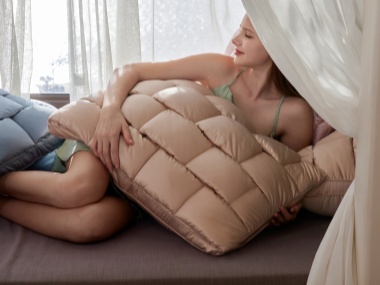
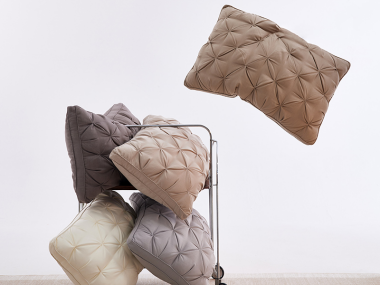
Throw pillows are an effortless way to spruce up a room, adding color, texture, and a dash of personality. Creating your own pillow covers offers not only a chance for personal expression but also an opportunity to refine your sewing skills. Whether you are looking to upcycle old fabric or tailor new ones to your décor, making a throw pillow cover is a manageable project even for sewing beginners. This article provides a step-by-step guide on how to make a throw pillow cover, ensuring that you enhance your craft with practical tips and insights.
")
Before we dive into the process, let’s gather the necessary materials you will need:
The fabric you choose can significantly affect the aesthetics of your pillow cover. Options include cotton for a soft touch, linen for a timeless look, velvet for elegance, and canvas for durability. Consider the theme of your room and personal preferences while selecting fabric. Make sure it is wide enough to cover your pillow size.
Ensure you have all the essential sewing tools ready:
The pillow form will determine the size of your cover. It can be made of foam, down, feathers, or polyester fiberfill depending on preference. Ensure you have the same size for which you plan the fabric.
You may want to add decorations like buttons, zippers, or trims. Zippers are particularly useful for removable covers, ensuring easy washing.
Accuracy in measurements will ensure the cover fits well. Measure the pillow form from seam to seam. Add 1⁄2 to 1 inch for seam allowances based on your sewing machine setup.
Upon measuring, lay your fabric flat and use a ruler and tailor’s chalk to mark boundaries. Double-check and cut accurately for two pieces: one for the front and another for the back. If using a patterned fabric, ensure consistency in direction if applicable.
Here is a structured guide on creating a throw pillow cover:
Before sewing, iron the fabric to remove creases. This ensures the pattern is flat and neat, setting a foundation for the sewing process.
Lay the two pieces of fabric with their right sides facing each other. Align all edges and pin them together. Begin sewing along each edge with a 1⁄2-inch seam allowance. Remember to leave one side partly open if you’re inserting a zipper or Velcro.
If you choose to add a zipper for functionality, follow these steps:
For Velcro, sew strips on the fabric edges left open, ensuring they've enough hold.
After installing any accessories, complete sewing along all edges. Removing the pins one by one, you may also zigzag stitch or serge the seams for strength, especially for heavier fabric.
Carefully turn the fabric right-side out, ensuring sharp corners. Use a ruler's edge or a pointing tool to gently push corners into perfect, crisp angles.
Iron the cover for the finished look, ensuring edges are smooth. Inspect seams for missed stitches or loose threads and fix accordingly.
Carefully insert the pillow form into the finished cover. Adjust and fluff as needed until it fills all edges snugly.
To preserved longevity, wash the fabric according to its care instructions. Cotton covers can typically undergo regular washing, whereas intricate materials like velvet may require hand cleaning.
Mixing patterns can enhance visual appeal but requires balance. Pairing solids with small prints or geometric designs can instantly elevate a room’s design without overwhelming the space.
Repurposing fabric from old clothing, curtains or covers contributes to sustainable crafting. This not only reduces waste but adds a layer of uniqueness.
Experiment with fabric paint, embroidery, or appliqué for personalization. Custom designs allow for versatility in style and uniqueness.
")
Creating a throw pillow cover is an accessible and enjoyable project that yields significant enhancements to your living space. By following this detailed guide, you can craft covers showcasing your individual style and complementing your décor. Remember to take precise measurements, choose quality materials, and explore various designs. With these in-depth instructions and practical tips, you’re equipped to transform ordinary fabrics into functional art pieces that add warmth and texture to any room.