Updatetime:2026-06-09 09:11:50 View:
Custom pillow cases are a fantastic way to enrich your home decor, create unique gifts, or offer personalized products for a small business. Whether you're looking to save money or simply enjoy the satisfaction of creating something with your own hands, making custom pillow cases can be a rewarding endeavor. In this guide, we will explore various techniques, materials, and tools required to craft your own pillowcases. We will also provide tips to ensure a professional finish.
")
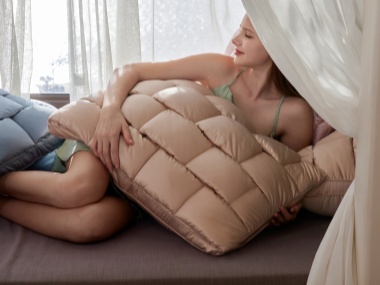
Before you start creating your custom pillowcase, it's essential to gather all necessary materials. The quality and type of material you choose will directly affect the outcome of your project. Here's a list of basic materials:
Creating a custom pillowcase might seem challenging at first, but breaking it down into manageable steps can make the process easier. Here's a step-by-step guide:
The first, and most critical step, is choosing the right fabric for your pillowcases. Consider fabric patterns and colors that reflect the personality and style you want to convey. Wash and iron your fabric first to remove any potential shrinkage or creases before cutting.
Measure your pillow insert to know the size of your pillowcase. A standard size pillow is typically 20x26 inches, while a queen size is 20x30 inches and a king size is 20x36 inches. Add an extra inch to each side for seam allowances.
For example, for a standard pillow size, you would cut a piece of fabric measuring 22x28 inches. If you want an envelope enclosure, you'll need an additional flap piece of approximately 6 inches to overlap in the back, making the entire piece 22x34 inches before sewing.
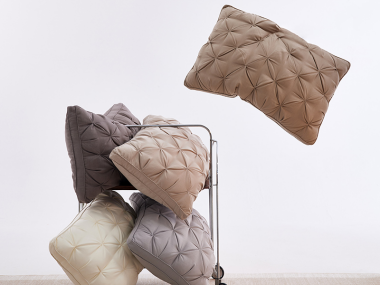
Customization isn't just about choosing the right fabric—you can add various personal touches to make your pillowcases truly unique. Here are a few ideas:
Embroidery is a classic way to add a personal touch to your pillowcase. Whether it’s monograms, floral designs, or abstract patterns, embroidery can elevate the look of your products. Ensure to use an embroidery hoop to stabilize the fabric while working on your design.
If you're not ready to work with a needle or thread, fabric paint offers an excellent alternative. You can use stencils or freehand techniques to create custom designs. Choose colors that complement your fabric and go with the theme of your space.
Adding piping or decorative trim to the edges of your pillowcases can give them a polished, finished look. Piping is especially popular in high-end decor and adds a professional touch to your project.
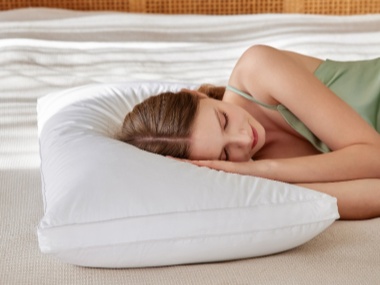
Once you've completed your pillowcases, proper care and maintenance will ensure they last as long as possible. Follow these tips:
Ironing: If needed, iron your pillowcases on a suitable setting for the fabric type. Use a pressing cloth to protect embroidery or printed designs.
")
Creating custom pillowcases can be a delightful and rewarding project that provides both creative satisfaction and personalized comfort in your living space. By selecting quality materials, sewing with care, and adding personal touches, you can create pillowcases that are as unique as they are functional. Whether you’re a seasoned sewer or a beginner, the principles and tips shared in this guide ensure that you can confidently create beautiful custom pillowcases tailored to your needs.
With practice and patience, you can expand your skills and perhaps even start designing a wider range of home decor items. So grab your fabric, settle on a design, and embark on your journey in the world of custom pillowcase creation—your perfect project awaits!