Updatetime:2026-06-08 09:36:43 View:
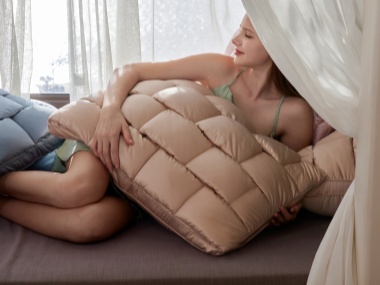
Decorative pillow covers are a delightful way to add personality and flair to any room. Whether you're looking to revamp your living room, bedroom, or patio, pillow covers offer an affordable and creative method to achieve a desired aesthetic. This guide will walk you through how to make a decorative pillow cover from scratch, ensuring you have a thorough understanding of the processes involved, along with some valuable tips for success.
")
Before you embark on creating your decorative pillow cover, you need to gather the necessary materials. These include:
Begin by measuring your pillow form. Add an extra inch to the height and width of the pillow measurements to accommodate seam allowances. If your pillow form is 20""x20"", you will cut two fabric pieces measuring 21""x21"".
Fold the fabric in half, lay it flat on a surface with the right side facing in, and cut two identical squares using fabric scissors. Ensure the edges are aligned evenly for precision.
Decide on how you will close your pillow cover. Zippers provide easy access and a sleek finish, while buttons add a traditional touch. Both options secure the pillow form effectively.
Mark where you want the zipper to be on one side of the fabric square, leaving some space from the edge. Leave at least an inch from each side to properly sew the zipper. Pin the zipper face down along the edge, ensuring it is aligned. Use a zipper foot attachment on your sewing machine to securely stitch both sides of the zipper.
For button closure, once the cover is sewn, make buttonholes along the opening edge. Equally space the holes to match the number of buttons you intend to use. Hand-sew or machine-sew buttons opposite to the buttonholes.
With the closure method installed, place the two fabric squares together, right sides facing inwards. Pin along the edges, leaving the side with the closure out, as it will remain open for now. This pinning ensures that fabric layers don’t shift during stitching.
Stitch around the perimeter with the sewing machine, maintaining a half-inch seam allowance. Reinforce the corners of the pillow cover by sewing diagonally across the corners before cutting any excess fabric. This technique strengthens the corners.
Once sewn, carefully trim any excess fabric from the seams without cutting the stitches. Turn the fabric inside out, pushing out the corners using your scissors handle or finger. Ensure the seams are flat and the corners are well pronounced.
With the pillow cover turned right side out, place the pillow form inside. Test the closure mechanism by zipping up or buttoning the cover. If a zipper was used, it should move smoothly, and if buttons were used, they should align perfectly.
Adding a unique touch to your pillow cover can personalize it further:
Add decorative trims like lace, fringe, or tassels to the edges of your pillow cover for a touch of elegance. Sew trims before sealing the seams for a neat finish.
Consider embroidering patterns or designs directly onto the fabric before assembly. Alternatively, use fabric paint or iron-on transfers to add visual interest.
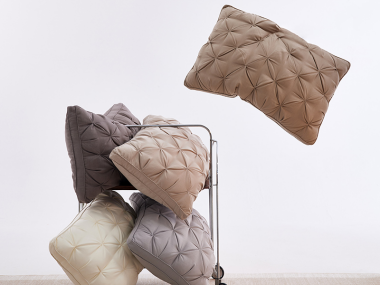
Combine multiple fabric types or patterns for a patchwork design. This involves cutting smaller sections from different fabrics and sewing them together to form the pillow cover, creating a unique, quilted look.
Taking care of your decorative pillow cover will ensure its longevity:
Ironing: Iron as needed, always following fabric-specific instructions to maintain texture and color.
")
Creating a decorative pillow cover is not just a rewarding craft project but a skill that offers practical benefits to your home aesthetics. With the steps outlined above, you can make pillow covers that reflect your personal style and needs. Whether used to make seasonal changes or as gifts, these beautiful additions to any decor will elevate the ambiance of your space. Practice and experimentation with designs, closures, and embellishments will hone your skills further, making pillow covers a personalized manifestation of creativity.
This guide has equipped you with foundational techniques and tips for making a decorative pillow cover. Enjoy the creative process and the satisfaction that comes with embellishing your home with handmade decor.