Updatetime:2026-06-02 08:32:11 View:
Embroidery is a timeless art form that can transform an ordinary pillow into a stunning piece of decor. Whether you're looking to add a touch of elegance to your living space or create a thoughtful personalized gift, learning how to embroider a pillow is a rewarding endeavor. This comprehensive guide will walk you through everything you need to know, from materials and techniques to practical tips and creative ideas. Let’s dive in!
")
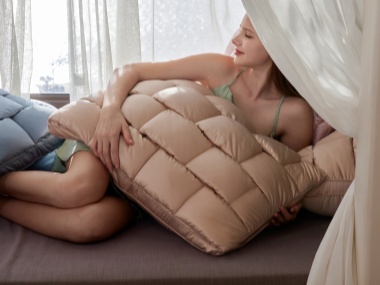
Embroidered pillows have a dual purpose—they are both functional and decorative. Embroidery elevates the aesthetic appeal of your pillow, giving it a unique, handmade charm. By embroidering a pillow, you can:
Whether you're a beginner or an embroidery enthusiast, this project combines creativity and practicality, making it an excellent way to hone your craft skills.
To start embroidering a pillow, you’ll need the following tools and materials:
Having the right materials ensures that your embroidery process is smooth and enjoyable, while the finished product is durable and visually appealing.
Before starting your embroidery process, it’s essential to prepare the pillow or fabric properly:
Opt for a fabric that can easily withstand stitching without fraying. Cotton, linen, or canvas are popular choices. Make sure the fabric is clean and ironed to remove any wrinkles.
Decide on an embroidery design that aligns with your pillow’s intended use. Options include intricate floral patterns, geometric motifs, monograms, or whimsical designs. Sketch your design on paper or use a pre-made pattern.
Use a water-soluble pen, chalk, or carbon tracing paper to transfer your chosen design onto the fabric. Work lightly to avoid leaving unwanted marks. Position your design where you want the embroidery to appear on the pillow.
Place the fabric in an embroidery hoop, making it taut without stretching the fibers. A securely placed hoop ensures better control and prevents snagging while stitching.
Cut a length of embroidery thread, usually 18–24 inches, to prevent tangling. Separate the thread strands if necessary (commonly 2–3 strands for embroidery) and thread your needle. Knot one end to secure the thread.
The stitching technique you choose will depend on your design. Here are some popular embroidery stitches:
Start stitching along the lines of your design, ensuring that each stitch is neat and uniform. Work slowly and patiently, adjusting the fabric tautness in the hoop as needed.
If your design includes multiple colors, switch threads as per your pattern. Knot off your current thread securely, re-thread your needle with the next color, and continue stitching.
Once your design is completed, secure the final thread by making a double knot on the back of the fabric. Trim any excess thread carefully. Check the embroidery’s overall appearance and fix any skipped details.
Wipe off water-soluble pen markings with a damp cloth or gently wash the fabric. Allow it to dry and then iron on the reverse side of the embroidery to set the threads and prevent wrinkles.
If you’re embroidering directly onto a pillowcase, it’s ready to use. For loose fabric, sew it into a pillow cover or attach it to an existing pillow with adhesive backing or stitching.
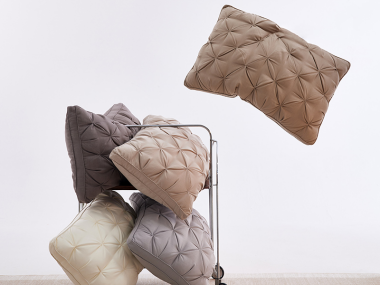
Embroidered pillows offer endless creative opportunities. Here are some ideas to inspire your projects:
These ideas showcase how versatile embroidered pillows can be, making them suitable for various settings, from bedrooms to living rooms.
Embroidery can be a meticulous process, but with the right strategies, you’ll achieve beautiful results. Consider these expert tips:
After investing time and effort into your embroidery project, proper care ensures its longevity:
By giving your embroidered pillow appropriate care, it will remain vibrant and beautiful for years to come.
Embroidery is more than just a crafting technique—it’s an art that allows you to create personalized and meaningful items. By following this detailed guide, you can successfully embroider a pillow that combines function and beauty. Equipped with the right knowledge, tools, and creativity, you’re now ready to embark on your embroidery journey and produce stunning, one-of-a-kind pillows. Happy stitching!